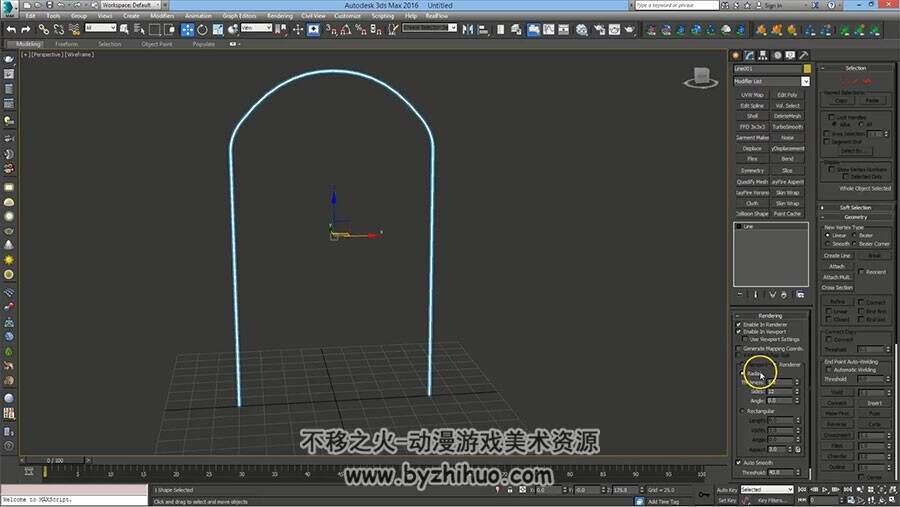
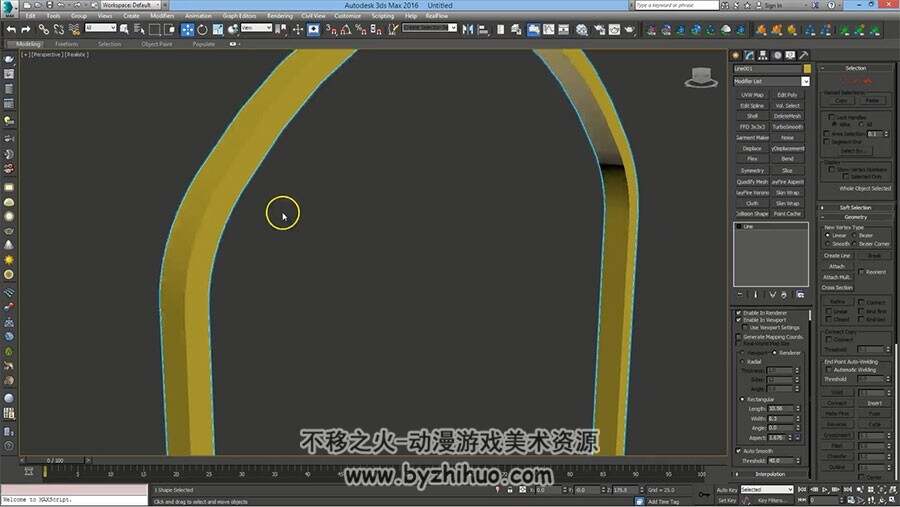
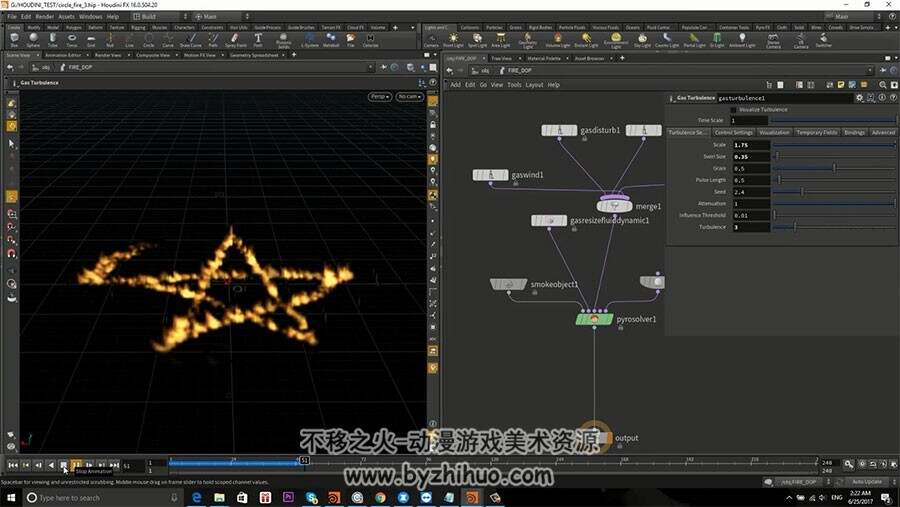
We’re going to start by creating the shape and source to our pyro solver. We’re going to discuss techniques for using and animating our source. After creating our source, we’re going to create clusters into our simulation so our simulation will be much faster than just creating one big grid.
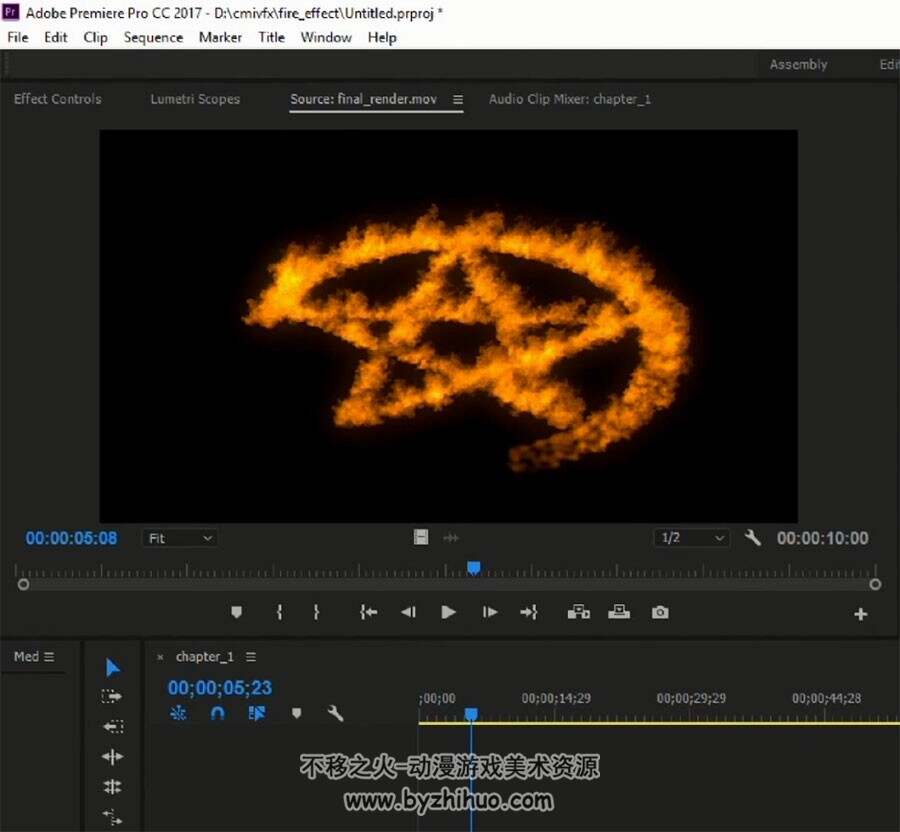
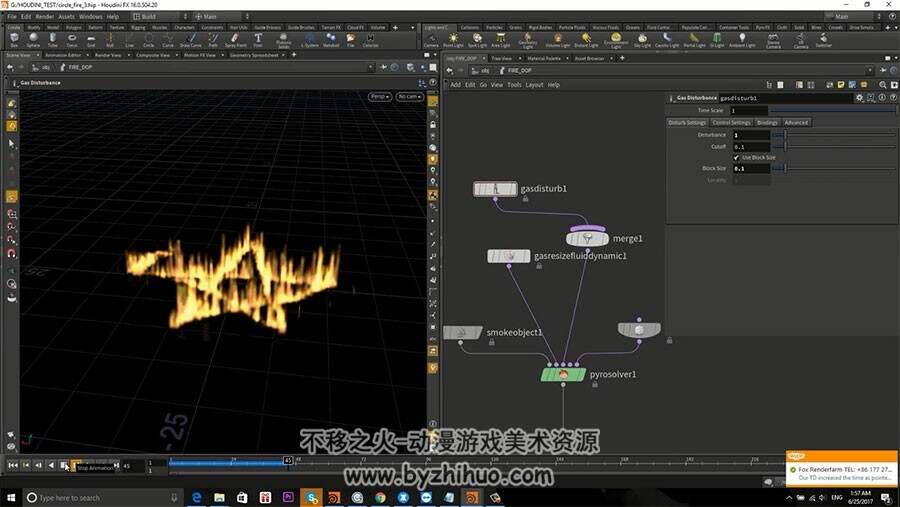
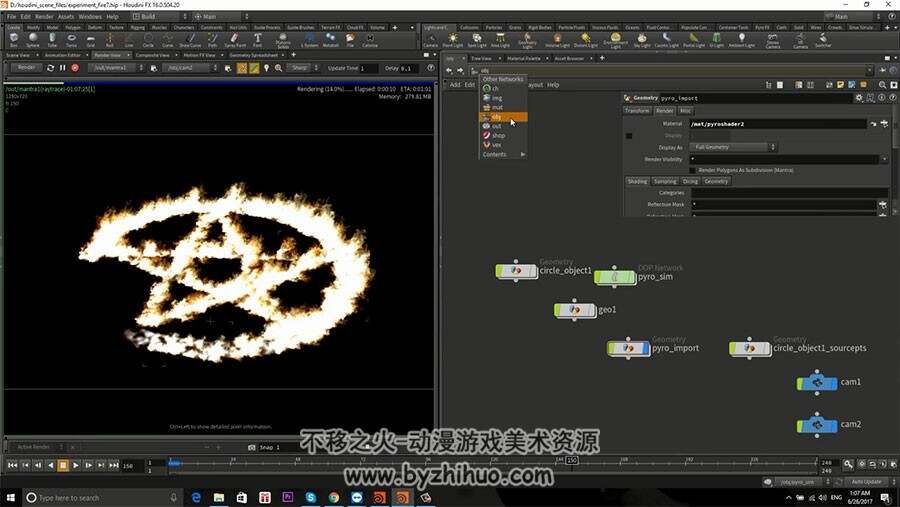
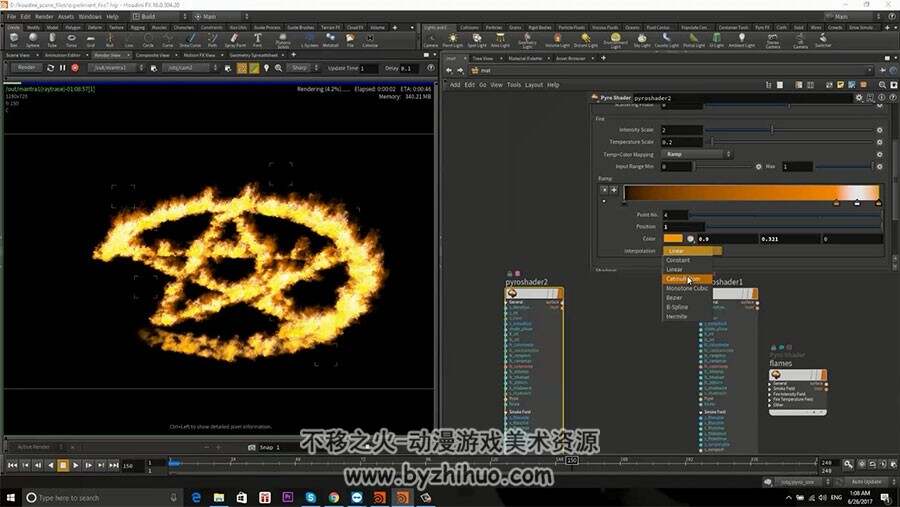
After creating our clusters, we’re going to switch into the pyro and we’re going to create the pyro from scratch and play with settings to get some nice, cool looking effects. After simulating a high-res simulation, we’re going to play with the shaders to get a nice fire effect. Then we’re going to go back and see what changes need to be done in order to make our final rendering.
Then, I’m going to show you how to submit your render to Fox Renderfarm, which is a really fast rendering and simulation farm.
After that, I’m going to show you some quick compositing and color correction that can be done inside of Houdini, but I’m also going to tell you how you can take it further from there and make your effect look even better.
I hope this tutorial will help you understand flames and fire inside of Houdini. Let’s get started!
游客,如果您要查看本帖隐藏内容请回复