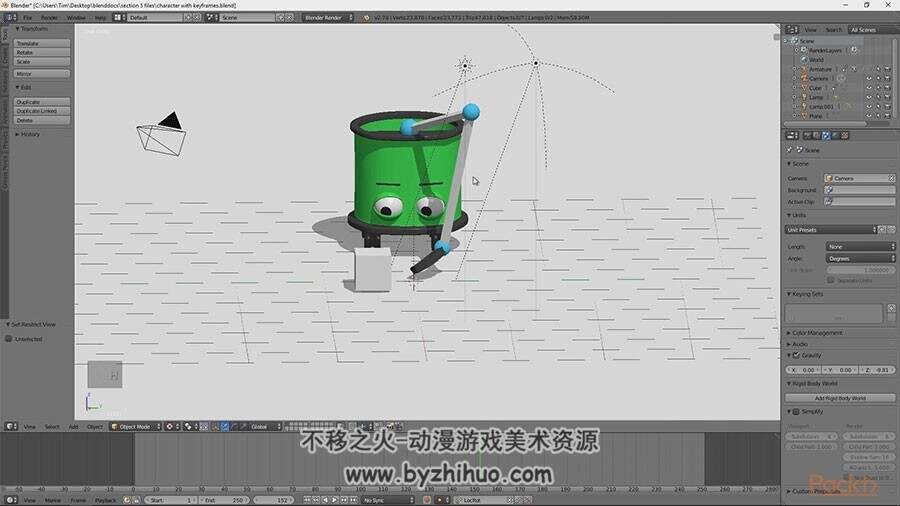
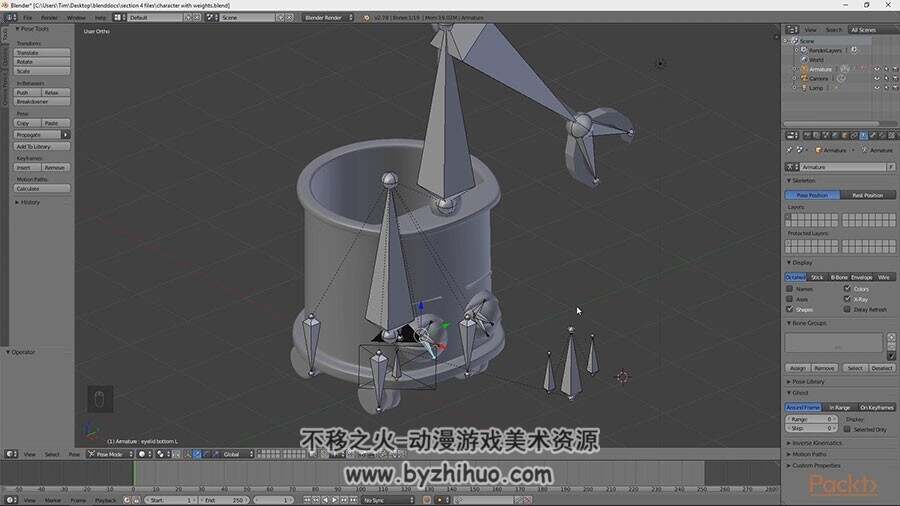
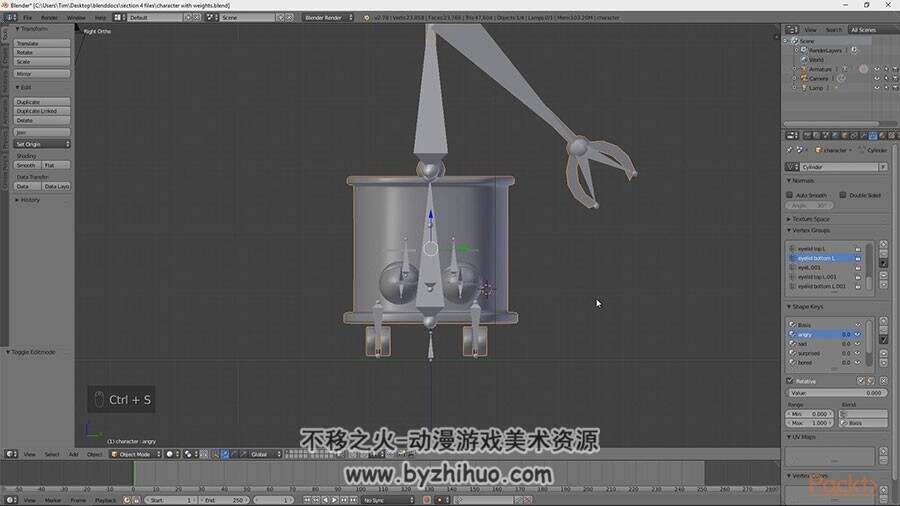
We start the course by fostering a basic understanding and appreciation for the software, including installation, shortcuts, and viewport/panel navigation; this will help you efficiently navigate between windows and panels, and move objects with basic shortcuts. Next, we move on to the basic setup for modeling a simple object, including setting up and scaling reference images appropriately and manipulating a base mesh to build a new, more complex object to model a simple object from a reference image. Next we delve into the base workflow for creating a new 3D character from scratch using reference images and, utilizing the skin modifier, we will create a base mesh for our character and then add extra details to make the mesh look better and more lifelike. The next topic we will look at is rigging—how it works and why it makes life easier for the animator. You will then create a simple rig for your character and apply simple weight painting techniques to clean up the model. For the next step we will learn about simple materials in the Blender internal render engine as well as keyframe animation, while also learning how to add color materials to different parts of a character mesh so that you have a good understanding of how the animation system and timeline work within Blender. Finally we will learn how rendering works, the different settings for outputting an image or video, and how to stitch an image sequence together into a video file that will help you better understand which output files to use, depending on the situation.
游客,如果您要查看本帖隐藏内容请回复